Site Prep
heading
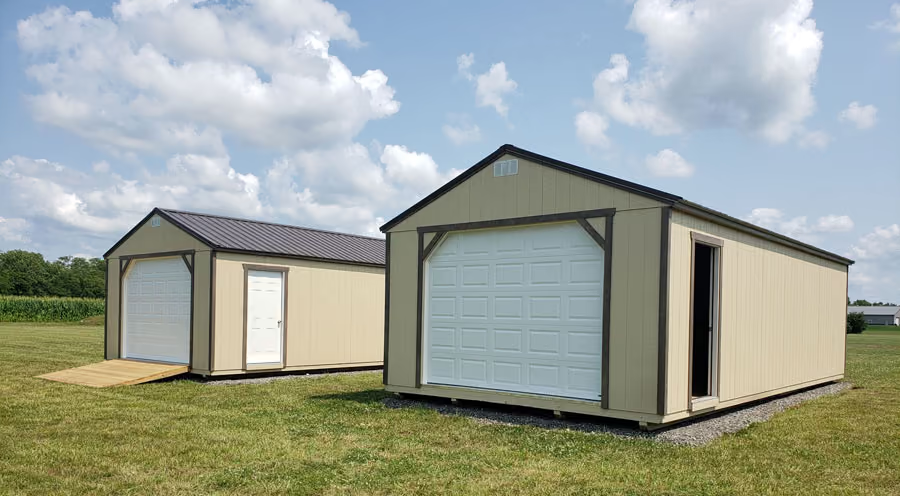
Site prep is an important step in preparing for your shed delivery.
We require a clear, level area to place sheds and recommend the foundation be 12” wider than the shed on all sides. There are several ways to prepare your site, so consider your options and decide what works best for you.
Site Preparation Options

Cement Pad
Cement pads work best for larger sheds and in yards where the shed plot is below the grade of your yard. If you do not have experience with cement, you can hire a professional to do this for you.

Gravel Pad
Gravel pads are the most common of site prep methods. Gravel is ideal for shed foundations for several reasons as it protects the bottom of the shed from moisture that seeps from the ground and is porous, so water soaks into the gravel rather than splashing onto the shed. It is also the most affordable option.
Good gravel pads should be no less than 4” deep. On level ground, 4-5 inches of sod is removed and the space is filled with gravel and leveled.

Paver Blocks
When properly installed, paver blocks provide a sturdy foundation for sheds. This method is not for shed sites that sit at the lowest point of your yard because standing water can damage the foundation.
Properly installed pavers have a tamped soil base, topped with a dry sand/concrete mixture. The paver blocks are installed on top of the mixture and any cracks between pavers are filled with sand and concrete. They are then sprayed down and left to cure for 24 hours.
Maximize your storage opportunities
1. Choose a Design
Start with the Utility Shed, Lofted Shed, or the Urban Shed.
2. Make it Yours
Next, you can choose your siding and roof colors and add things like dormers, a garage door, a porch, shutters, shelves, or a ramp.
3. Prep Your Site
We've got what we need, now get to work preparing a site for your new shed!